A Delicious Guide to Fallen London
Chapter 6: Myself-tab (inventory)Continued from: Chapter 5: The Bazaar & FATE
<-Back: List of Chapters
In the previous Chapters, we have acquired
- Some jail clothes (Chapter 0 / Chapter 1)
- Bowler Hat [Shadowy +2] (Chapter 2)
- 100x Jade Fragment ["bulk item" to be converted] (Chapter 5)
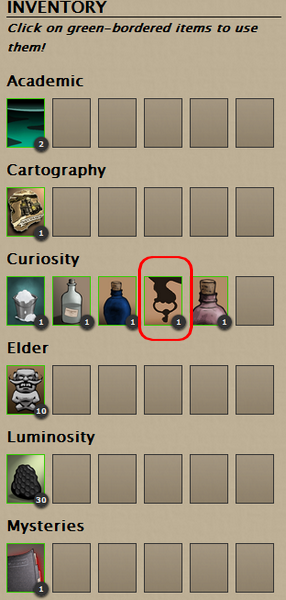
- Laudanum, Vigour & Ablution [Menace removal items] (Chapter 5)
- Key to a Rooftop Shack [3-card Lodgings] (Chapter 5)
...it's about time to open up the Myself-tab to explore the options we have with these:
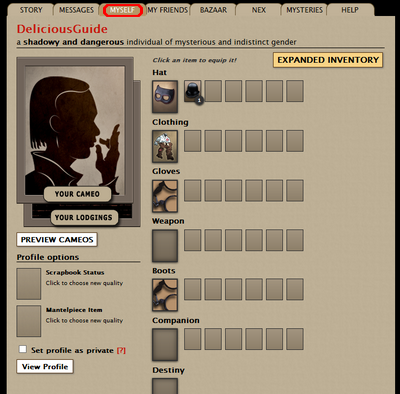
An exceptionally empty and uncluttered inventory, which makes this tutorial that much easier to write! Yay!
Let's have glance of what we're wearing:
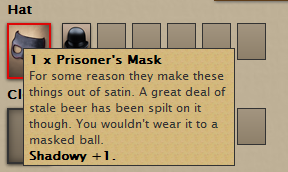
Mask: +1 Shadowy
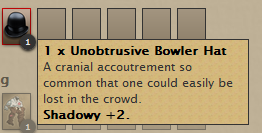
Bowler Hat: +2 Shadowy > Mask +1 Shadowy. Let's equip the Bowler Hat.
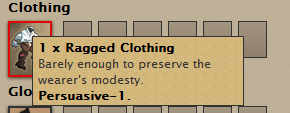
Ragged Clothing: -1 Persuasive. Negative effect! Immediate unequip. Also: going around naked improves our Perception over Ragged Clothing? Curious.
Other equipped stuff (Manacles in Gloves and Boots slots) have no positive or negative effects on the Main Qualities. Let's unequip them as well:
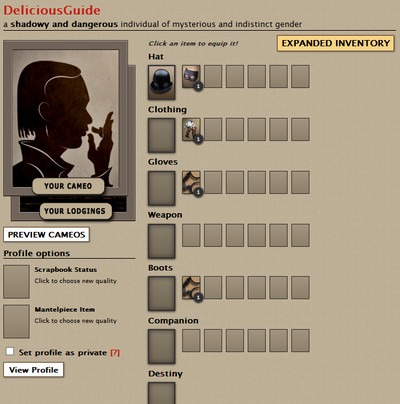
The unequipped Manacles and Clothes can be sold at the Bazaar.
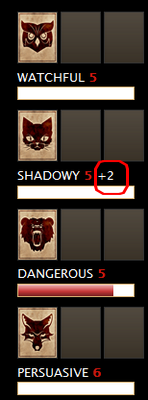
The total cumulative effect the equips have on the Main Qualities is displayed on the left hand side, next to the Main Qualities, as a white +/- modifier:
Equipping and unequipping items is NOT AN ACTION. Therefore, you can e.g. do the following sequence:
1) equip all the Dangerous items you have
2) perform a Dangerous challenge action
3) equip all Persuasive items you have
4) perform a Persuasive challenge action
...and this consumed only the two actions required for the challenges. This kind of constant equip->unequip cycle is especially useful in the very early stages of the game with a fresh character, when all Main Qualities have very small values, and every stat bonus from equips make a significant difference for succeeding in the challenges. Once you get more of each Main Quality, the +1s and +2s will have less effect; but on the other hand you will gain Echoes/access to better gear as well so managing your equips will remain useful also in the future.
If you are a lazy person like me who does not want to bother with changing the equips too often, you can choose to "grind" one specific type of challenge (e.g. Persuasive challenge) multiple times in a row to improve one Main Quality before switching to another type of challenge (e.g. Shadowy challenge) and perform that multiple times in a row. Or you can just equip a little bit of bonuses to all Main Qualities (all-around approach), accept mentally the fact that you will have a lower success % for challenges than if you would micro-manage, and not have to care about the equips all that much. This approach will gain less material rewards over time due to a lower success rate; but the Main Qualities will improve the same amount whether you succeed or fail a Main Quality Challenge.
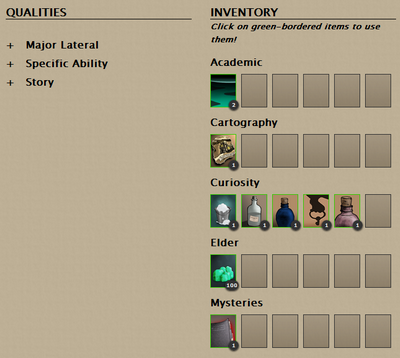
Let's take a quick peek at the "Expanded Inventory":
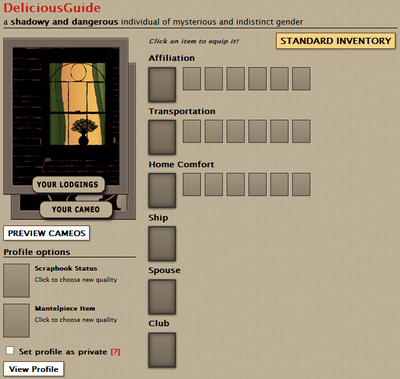
Emptiness. Like a void.
At this point, it may hit you that there is indeed a lot of stuff you can gain in the game. Most of these slots will take a few months of gameplay for you to fill, so we should not worry about them too much at this point; it's enough to know that they do exist.
Next: Scrapbook, Mantelpiece & Journal. Let's start with Scrapbook:
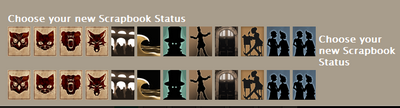
I choose "A New Arrival 5". I will soon show you where this will be displayed.
Mantelpiece:
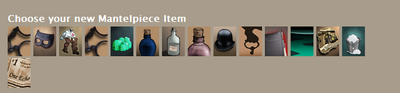
I choose the Bowler Hat.
Remember your Journal (http://fallenlondon.storynexus.com/Profile/InsertCharacterName) back from Chapter 0? Probably not. Let's open it up by clicking on the "View Profile" button:
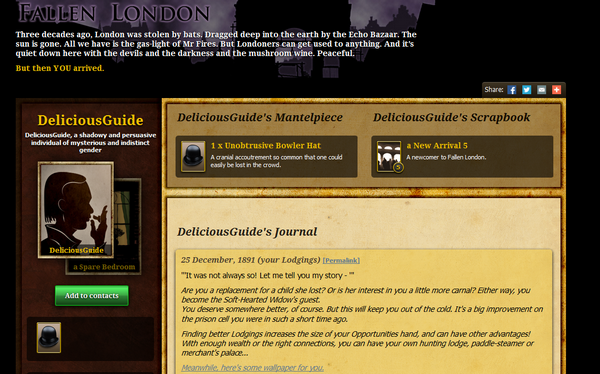
Scrapbook & Mantelpiece!
Next, on to the bottom half of the screen. Let's start from the left with the Qualities tab:
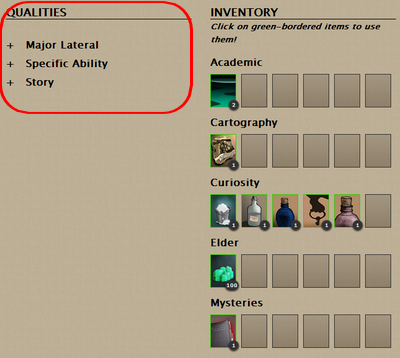
I am not going to expand this on the screen. It will contain a huge list of stuff. It's good to have it not-expanded by default.
The Qualities section will track your story-related quality progress in numeral form. If you need a high "Connected: Faction XYZ" quality to proceed, it's nice to be able to check how of it If you have forgot what you are about to do next
1) check your Lodgings.
2) check the Qualities tab, for it may contain a recap description.
3) it is possible that you will need to wait for a Gold Card to appear to progress the story.
4) if no card appears anytime soon, check the wiki for clues. NOTE: The Wiki does contain a lot of spoilers, though.
Next, let's click on the Jade Fragment:
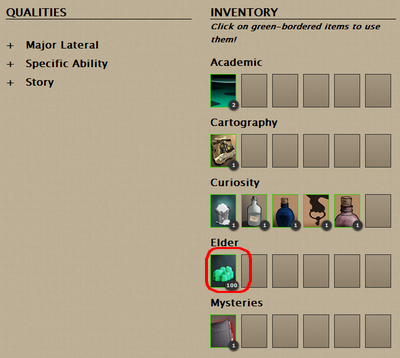
Notice the very small green border around Jade Fragment. This indicates the item is clickable.
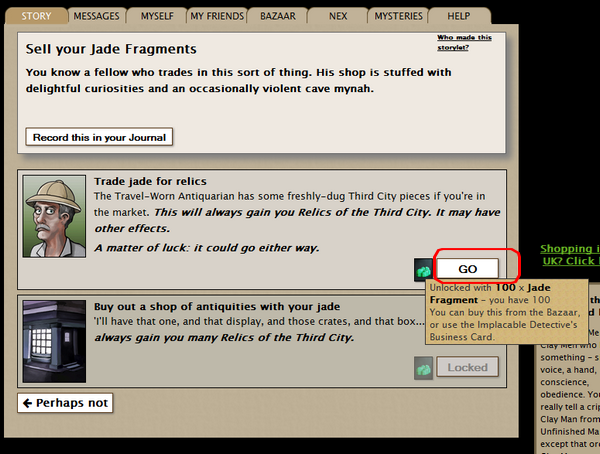
This will consume 1 action.
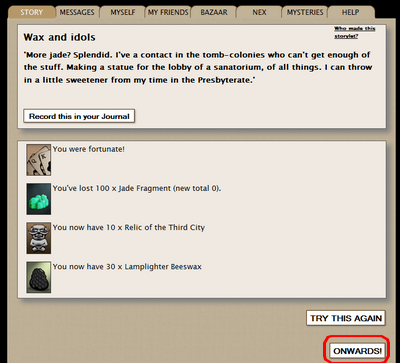
Receiving the Relics was 100% certain. Receiving the Beeswax on top is why the message says "You were fortunate!" after a succeeded luck check.
Conversions typically happen "upwards" within the same item category. For example, in this case, Jade Fragment and Relic of the Third City are both Elder category items. One way to think of it is that the Relic is an "upgraded" Jade Fragment. Some conversions higher up in the item "tree" will also allow alternative "sideways" conversion into items of different category.
Top tip: When converting masses and masses of "bulk items", it is useful to use the lower option to convert 500 items at once. There is no possibility of being fortunate and getting extra wax; but only 1 action is required to convert 500 Jade Fragments instead of 10 actions x 50 Jade Fragments.
Returning to inventory, the inventory contents have changed a little due to the conversion:
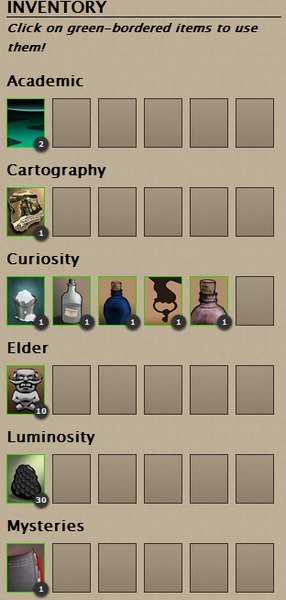
We have some Beeswax and Relics.
Next, click on the Laudanum.

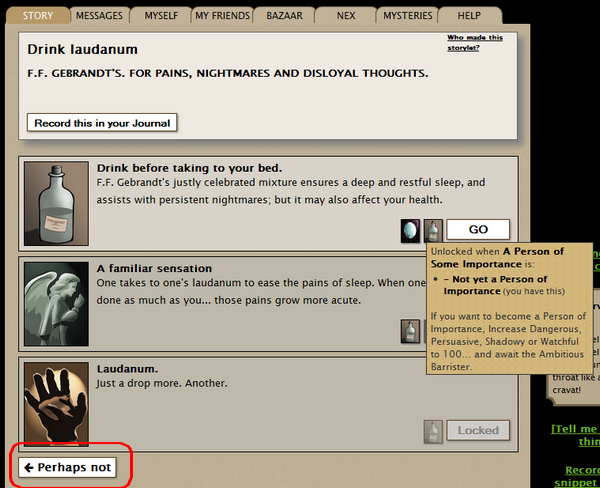
NOTE: Drinking heaploads of Laudanum will not have any negative consequences until we have achieved the status of a "Person of Some Importance" (PoSI). Which requires all Main Qualities 100+. Until then, let's drink Laudanum with every meal! It's good for you!
Since we don't have any Nightmares, let's click on "<- Perhaps Not" to return to the previous screen. This does not consume an action.
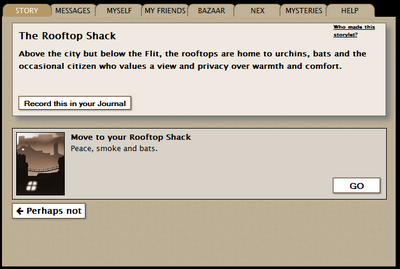
Finally, we will click on the "Key to a Rooftop Shack":
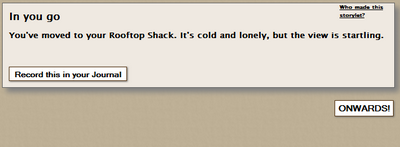
Move successful! It's as fast as 1 action consumed. Possibly because we don't seem to have any furniture? I wish moving houses in real life would be as easy...
...which will kick us out from the Myself tab (inventory screen) and into our new lodgings!
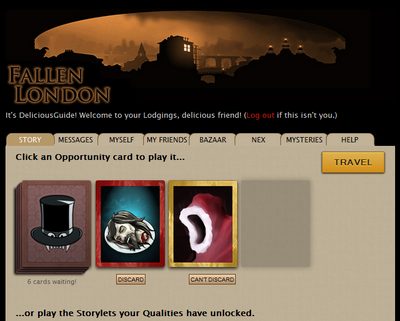
Notice the 3 card maximum hand size!
There you go, inventory tutorial complete!
And the whole tutorial is now complete as well!
This calls for some fanfares! Confetti! ...and Rats! Lots and lots and lots of rats!
Should you have any future questions about the FL universe, you can consult
Chapter 7: Useful Links & Resources
...and when you need to refresh your memory, you can go straight to
Chapter X: Summary (aka tl;dr) & Top Tips